I found a few issues with a recent Ubuntu install on an HP Stream 11. I found that the issues could be resolved by updating the kernel to a new release. Here I will explain the steps for a manual kernel install.
Downloading The Files
You can access kernel files by navigating to http://kernel.ubuntu.com/~kernel-ppa/mainline/ and locating the version you are looking for. Based on my research, I needed to navigate to /v4.6-yakkety as I needed to roll back my kernel.
I downloaded the following files.
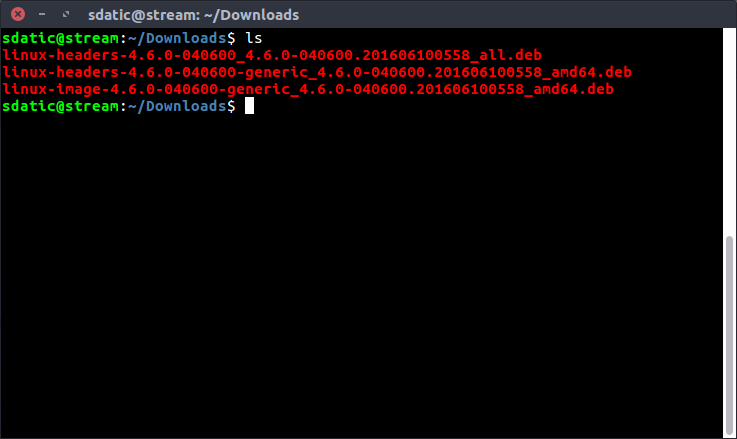
This is for a 64 bit processer so I selected my files from the amd64 section. You will need three files from the section for a standard setup. Notice that one file says “generic” and “image” while one says “generic” and “headers.” You will also need the one that says “all.”
Installing The Files
Move or save the files into a sub folder called kernel if you have other .deb files in your download folder. Then run the following command.
sudo dpkg -i *.deb
This will install the new kernel on your system and once it’s complete, a reboot is all that is necessary to be using the new kernel.
Conclusion
The process is pretty straight forward and allows you to keep up-to-date on kernel releases including testing versions. Share your experience in the comments section below.