There are a lot of options for setting up a home-based or even small office based vpn server. I’ve used and configured routers which include them, desktop computers and now a raspberry pi based vpn. Since you are dealing with a Debian based os, you have a lot of options but if you are using a Pi and like OVPN, there’s noting easier!
What you’ll need
IMPORTANT: Before you get started, make sure you have access to your router/access point’s administration and that you can forward ports. This is the most important step because you need to expose the Raspberry Pi/OVPN’s listening port to the public. If it’s not obvious and the actual most important part, you will also need internet.
If the answer is yes to the above, review the next items.
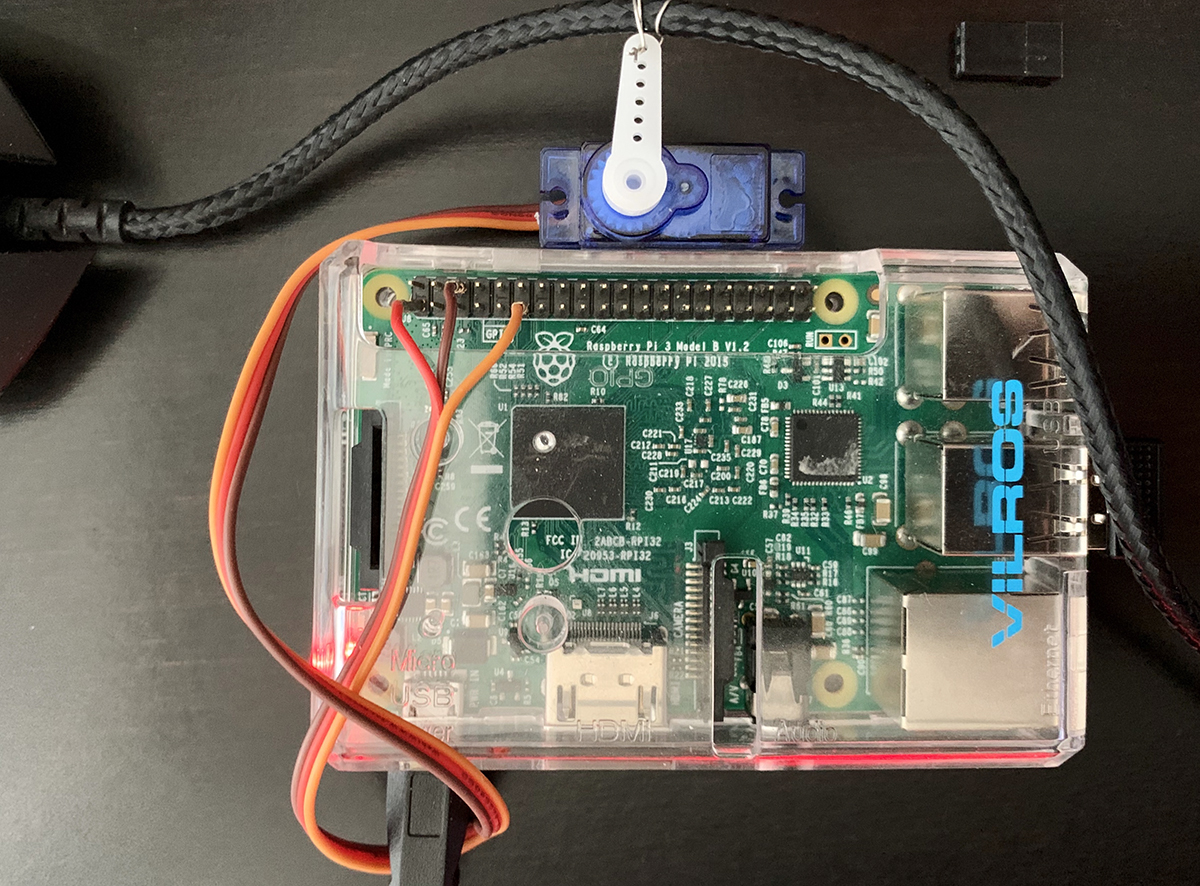
- A Raspberry Pi (I recommend a Raspberry Pi 3 version b) with a power cable, micro SD card, power cable and a keyboard, mouse, monitor (hdmi cable) to configure the pi.
- A computer (Mac or PC) with a way to read/write/connect the micro SC card.
Let’s get started
First, we will need to get Raspbian flashed to the SD card. For this you will need to download the latest version. There are other options and your kit (if you opted for a raspberry pi kit including noobs) may have come with one, it doesn’t matter, we just need a current Raspbian install.
Download the image here: https://www.raspberrypi.org/downloads/raspbian/
Insert your micro SD into your computer using a converter or dongle or whatever method you have to be able to access the card on the comp. I’m not going to go very far into the process because the software you choose will dictate the process and the suggested software below have good documentation. You just need to write the image we downloaded above to the micro SD card.
For Mac I like to use balenaEtcher found here: https://www.balena.io/etcher/
For PC/Windows 10 I like rufus found here: https://rufus.ie/
Setting up the Raspberry Pi
Install the micro SD card, make sure the monitor, keyboard and mouse are all plugged in and then connect the power. You’ll see some things happen but you will eventually make it to a desktop or you will be asked some localization questions and to set a password, asked to reboot and then end up at the desktop.
There a plenty of guides on this for varying versions of Raspbian so find one you like or browse my site for more specific details.
At this point you have options to open the ssh port or enable vnc options but it’s not really necessary for us in this tutorial. I would think about learning ssh or vnc and using it for configuration so you don’t have to have monitor connected which makes this setup even more convenient.
You have 2 options at this point, you can connect your Raspberry Pi to your network with cat 5 or wifi depending on the model and availability. I currently use wifi but have used cat 5 and recommend it depending on the situation.
Wifi Route
If you are going to use wifi, the easiest way is to click on the wifi icon at the top right of the screen, find your network and enter your credentials.
Cat 5 Cable
Plug it in.
Setting up the network.
Here’s where you will have to find some info out for yourself. All routers are different and all methods for setting up port forwarding vary from router to router. It’s time for some independent study. Find your router’s model number or perhaps your cable modem’s model number and look for documentation to setup a port forward and to find your routers ip address, it should start with 192.168 or 10.0.
Once you do, make note of the routers ip address which will most likely be 192.168.0.1, 192.168.0.100 or 10.0.0.1 but again, they can vary.
Next we need to setup the Raspberry Pi so everything can find everything and be set in a static way so the Pi’s IP address doesn’t change so we can always find and connect to it. This is where you may feel out of your comfort zone but things are standardized so follow along and we can make it through this part together.
On the top bar on the desktop you will see an icon for a terminal window, it’s a black square.
It will open terminal so we can type in some commands and get some info that we need. Let’s start by finding out about our network, type:
ifconfigYou will see something like this:
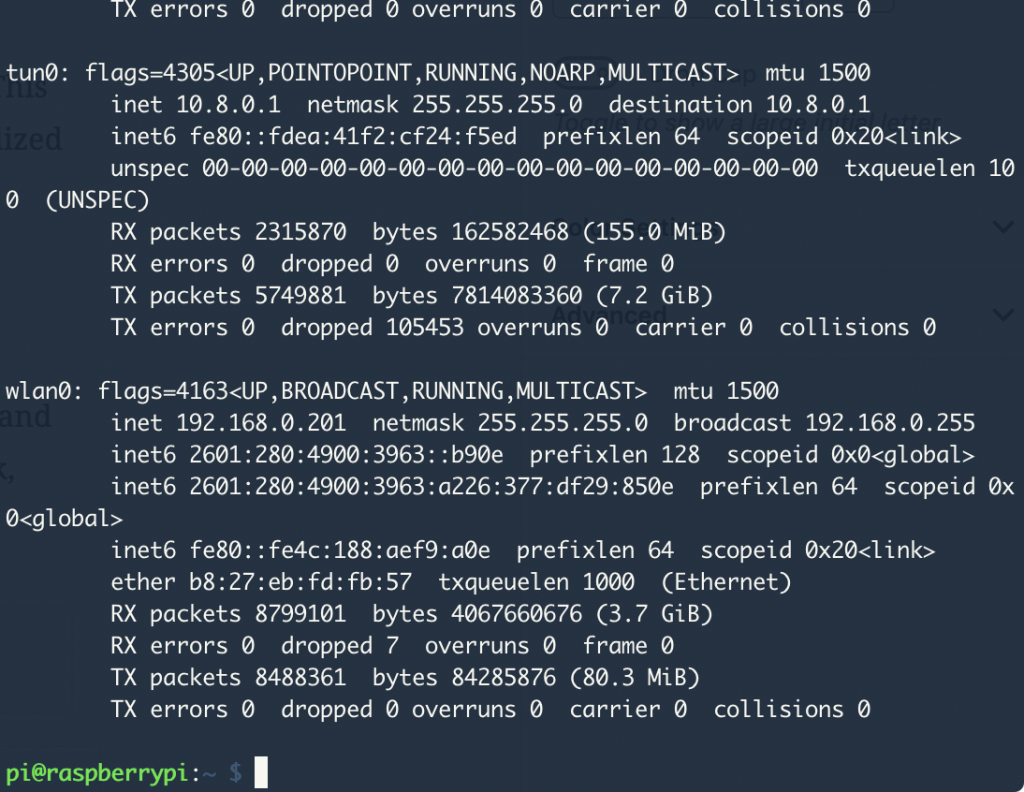
If you are using wifi to connect you look for wlan0 and if you a cat 5 cable, look for eth0. Again you will find that 99.9% of the time an inet number starts 192.168.x.x or 10.0.x.x and followed up with in my case .0.201. My ip address for my Raspberry Pi is 192.168.0.201 and I want to make sure it always stays that address. To do this type:
sudo nano /etc/dhcpcd.confYou will need to update your dhcpcd.conf to look something like this making sure to change wlan0 if you are using a network cable. The ip_address is the static IP address you’ve decided on. The routers is the IP address of your router and domain_name_servers is your router IP then google’s dns server.
interface wlan0
static ip_address=192.168.0.201
static routers=192.168.0.1
static domain_name_servers=192.168.0.1 8.8.8.8
Reboot your Pi.
Port Forwarding
Now you will need to look at your routers documentation to set up a port forward to the IP address you set in your previous step.
Installing PiVPN
In terminal run the following command.
curl -L https://install.pivpn.io | bashFollow the on-screen directions.
- When asked for interface, select the one you chose in our previous step.
- The IP should be the one you chose and the gateway should be your router’s IP.
- When asked choose the username associated with your Pi which if you followed these directions will in-fact be pi.
- Select UDP and pot 1194…unless you know what you are doing, and want to change it to something like 11941.
- use 2048 encryption.
- Select use this public IP.
- Choose Google.
- Reboot
Once back up, you can open up terminal again and create your OVPN user. Type:
pivpn -a- Enter a name for the client.
- Make a quality password for using the OVPN profile.
- Verify it.
Your OVPN file will be in /home/pi/ovpns. You can use the file manager on the top bar to find the file. You can use a jump drive top copy the file off the Pi or use the browser on the top bar to log in to google drive or email to send it to yourself.
This file will be used in an ovpn client, I use Tunnelblick. You will be asked for your password when using the file but you will want to keep this file safe.
Conclusion
As long as you can work out the router, you should have a working VPN server. Let me know if you need help in the comments below.