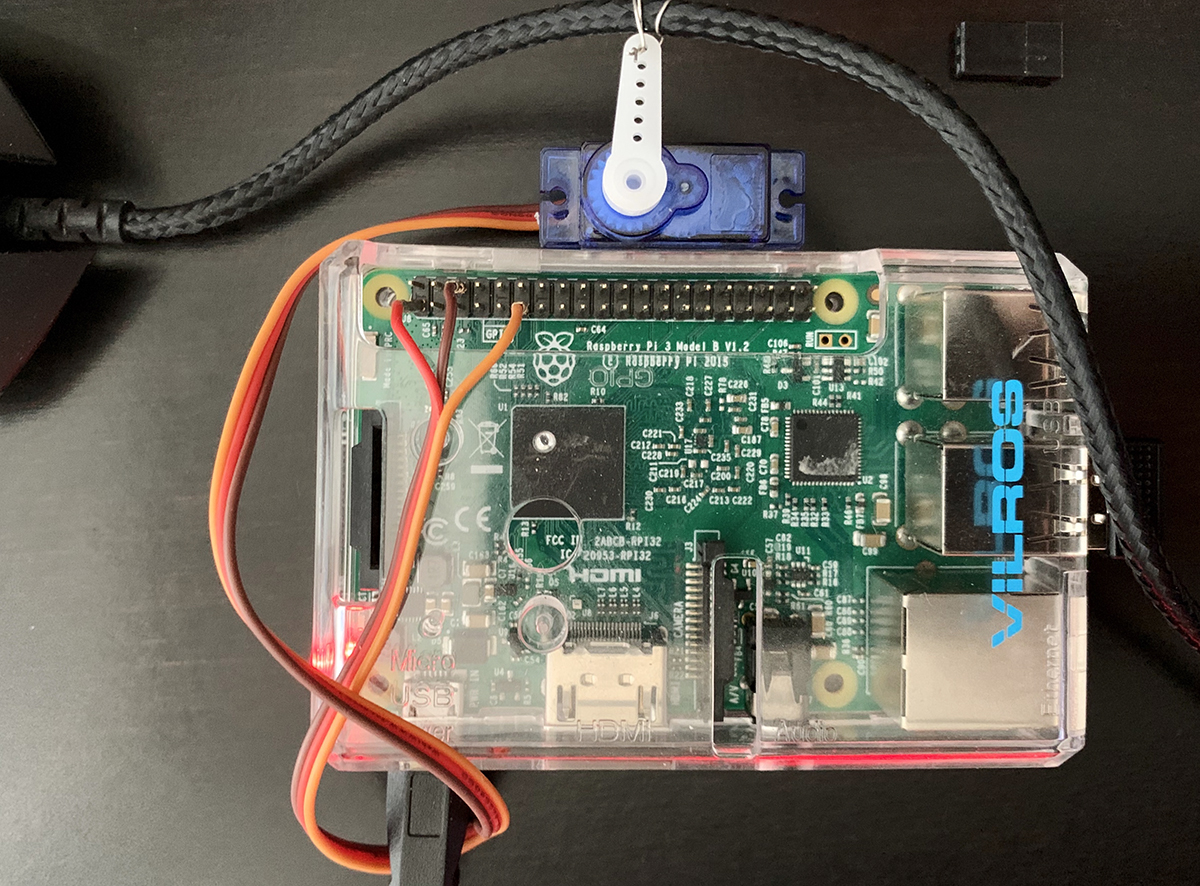
This article should be useful for any Debian based Linux operating systems. I’ve used it for both Ubuntu and Raspbian. I will focus on using apt-get within a terminal window. You will want to SSH to your server or open a terminal window to follow along.
Update and upgrade.
You will want to start with updating your apt repositories and upgrading your current packages before we begin.
sudo apt-get update && sudo apt-get upgrade
When prompted for yes or now type “y” to continue the process.
Install Apache
To install the current version of Apache, you will want to run the following command.
sudo apt-get install -y apache2 apache2-utils
You can test that it has been installed by opening a browser and entering your http://youripaddress where “youripaddress” is the ip address of your computer. You can find this by running the ifconfig command in your terminal session.
ifconfig
If you see a web page, everything is working.
Install PHP
We will install PHP5 as it is still widely used and should work with any of your web applications such as WordPress.
sudo apt-get install -y libapache2-mod-php5 php5 php-pear php5-xcache php5-mysql php5-curl php5-gd
You can test that PHP is installed by creating a quick PHP page that will show version and configuration information. First change directories to your web servers’ root folder.
cd /var/www/html
And then create the file.
sudo echo "<?php phpinfo(); ?>" | sudo tee phpinfo.php
Navigate to http://youripaddress/phpinfo.php to view your PHP configuration file details. As long as you see it show up, PHP is installed.
Install MySQL
Running the following command will install the current version of MySQL available from your OS’s repository.
sudo apt-get install -y mysql-server mysql-client
You will be asked to set a password for MySQL. It can be the same as your user’s password or something separate. Once it has finished, you can check if it was installed by running the following command and using the password that you just created.
mysql -u root -p
You will see your prompt change to mysql> if you have installed everything correctly. You can type “quit” at this prompt to exit the MySql client.
Conclusion
That’s all there is to it. Now you can add your html, php, css and js files in /var/www/html to view them on your LAMP server. You can remove the phpinfo.php file that we created by running the following command at /var/www/html as you will probably not need it and there’s no reason to leave it there especially if you will make this server public.
sudo rm phpinfo.php
Let me know if you have any questions by posting in the comments section. If you would like an easier way to create and manage your MySql databases, search for my post about phpMyAdmin for installation instructions.