It’s a work in progress but here is my current solution for easily switching between my Raspberry Pi 3 LCD Hat and the HDMI output. The LCD works by adding a few lines to the config.txt file found at /boot. I’m currently running Kali Linux so I have to mount my boot partition.
You can check if your boot partition is already mounted by running this command within your terminal. If the partition is mounted, you will see files including config.txt.
ls -l /boot
The Setup
My method is a little remedial but it works very well for me. You will want to copy your config.txt and call the first new file config.txt.hdmi. Complete this process again creating one called config.txt.lcd.
cp /boot/config.txt cp /boot/config.txt.hdmi
And then.
cp /boot/config.txt /boot/config.txt.lcd
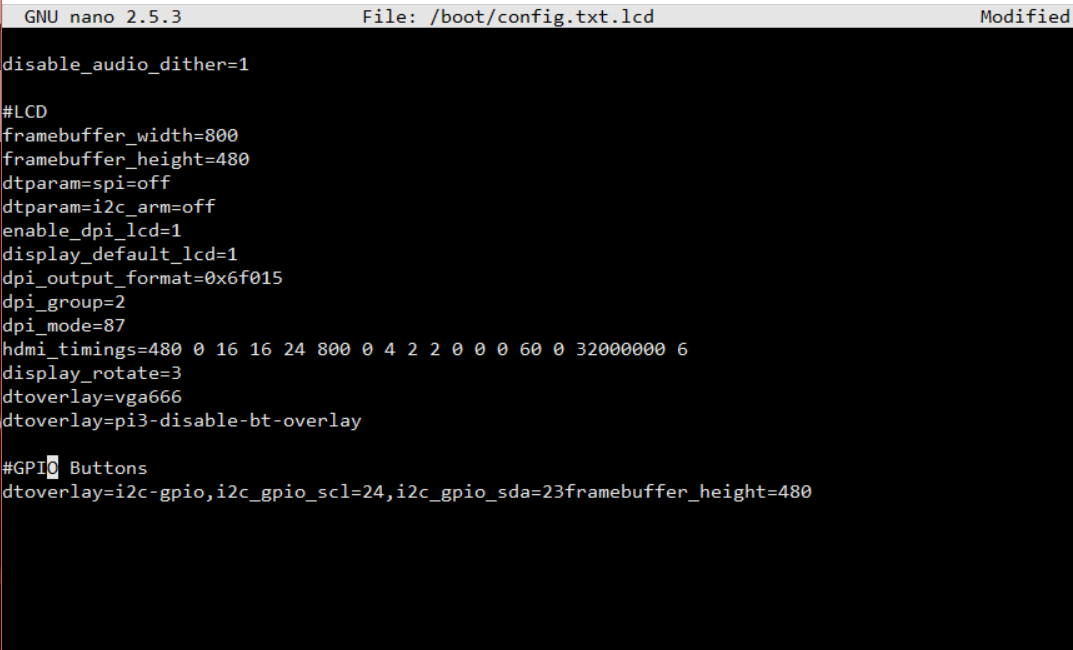
Edit config.txt.lcd with any functions that you need to run the lcd. Mine looks like this.

The Script
I placed my script in my home folder which is the folder that is activated when you open your terminal. I called it display.
nano display
Then add the following bash script.
#!/bin/bash

mount /dev/mmcblk0p1
echo "Select 1 or 2 to choose your display type. Type 3 to Skip"
OPTIONS="hdmi lcd"
select opt in $OPTIONS; do
        if [ "$opt" = "hdmi" ]; then
        cp /boot/config.txt.hdmi /boot/config.txt
        reboot
        break
       elif [ "$opt" = "lcd" ]; then
        cp /boot/config.txt.lcd /boot/config.txt
        reboot
        break
       else
        echo "Thanks"
        break
       fi
done
How it works.
The first line mounts my boot partition and you can omit that if yours is already mounted. When you run it, you will be presented with a menu. Select 1 and the system will reboot into HDMI. Select 2 and the system will reboot using the LCD. Select 3 and the program will stop.
To run the program, you will need to make sure it is executable.
chmod 777 display
Then run it.
./display
Conclusion
It’s a simple hack but it makes changing between my LCD and HDMI so easy. Let us know if you have any questions or suggestions in the comments below.


