If you do any type of programming on your Mac you probably already know what Homebrew is. I’ve been using it on my 2018 MacBook Pro since I unboxed it and setup my development environment.
If you don’t know, Homebrew is a package manager used to easily install software via the terminal on your Mac. Linux flavors offer package managers out of the box. Windows offers the Chocolatey package manager.
The Setup
You have to have Xcode installed on your Mac. I recommend installing it through the App Store. Search for Xcode and install it.
Installing Homebrew
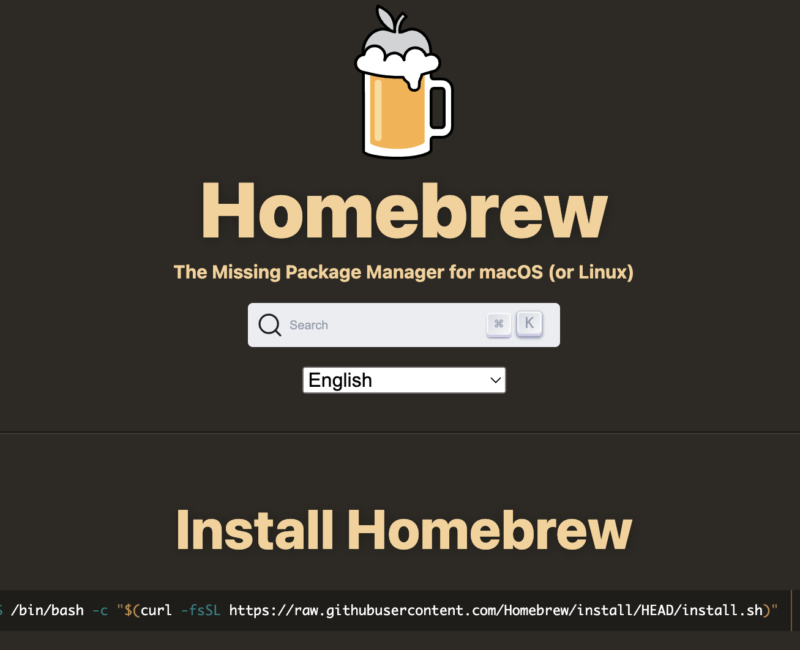
Once you navigate to https://brew.sh/ you will be presented with this code to past into your command line via terminal.
/bin/bash -c "$(curl -fsSL https://raw.githubusercontent.com/Homebrew/install/HEAD/install.sh)"As you watch the installation you will see a few main stages.
- Installation of Xcode Command Line Tools
- A warning that the Homebrew needs added to your path
- A “Next Steps” note with two commands you need to run in your terminal to add Homebrew to your path.
Once you complete this step of adding Homebrew to your path, you are ready to start using Homebrew to install some software packages.
Using Homebrew
What next you might ask. Well, it’s time to browse some packages to find something to install. You can browse all packages by navigating to https://formulae.brew.sh/. You can install packages like Node, Wget and NVM through your terminal with a single line. You can also keep packages up-to-date with Homebrew.
For example Node can be installed using the following line
brew install nodeReference: https://formulae.brew.sh/formula/node#default
Node can be updated using the following line
brew upgrade or brew update
Conclusion
This wasn’t meant to be a full blown tutorial but rather a reference and part of a series of posts about setting up a new Mac for dev work. Do you have any favorite Homebrew packages or tips? Share them below in the comments.


